

How to identify Saved Search Internal ID and add it into the Excel Connector+ template
This guide provides a step-by-step approach to identifying the Saved Search Internal ID and integrating it into the Excel Connector+ template.
Finding the internal ID
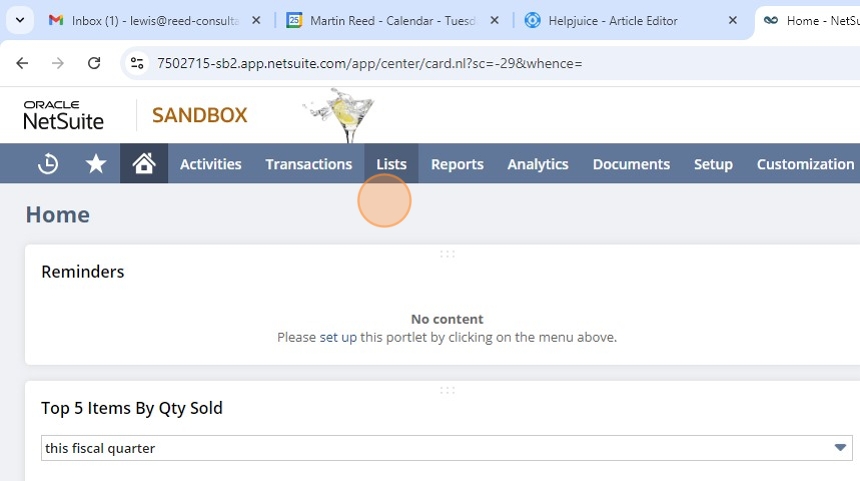
1. There are a few ways to identify the internal ID of a saved search. The first option is to view the saved search in the list of saved searches. Your exact menu path may differ based on your role. In the classic center
[[Header Titl]], navigate through Lists > Search > Saved Searches
2. Click here

3. Next to the search will be the internal ID.

Tip: Tip! If you cannot see internal id then do the following:
4. Click "Set Preferences"

5. Check the Show Internal IDS box.

6. You should now be able to view the internal ID.

7. Alternatively, when you are viewing a Saved Search, the internal ID will appear in the URL. It will always appear in the same location:
...searchid=[internalid]&whence=
Simply copy the internal ID from the address/search bar.

Updating the template
8. In the control center tab in the excel template, paste the internal ID into the next free row in the spreadhseet.

9. Then update the Excel Tab to the page where you want the data to be exported to. In this case, it will remain the same: "Results1"

Congratulations. You have added the internal ID of a saved search to the template.
Made with Scribe